

How to Edit Twitter Photos With Filters | Use Instagram Filters Tutorial
/In December 2012, Twitter hotted up its spat with Instagram by introducing its own set of photo filters right into its mobile apps. Once you've downloaded the update, using the filters is really simple. Let's take a look:
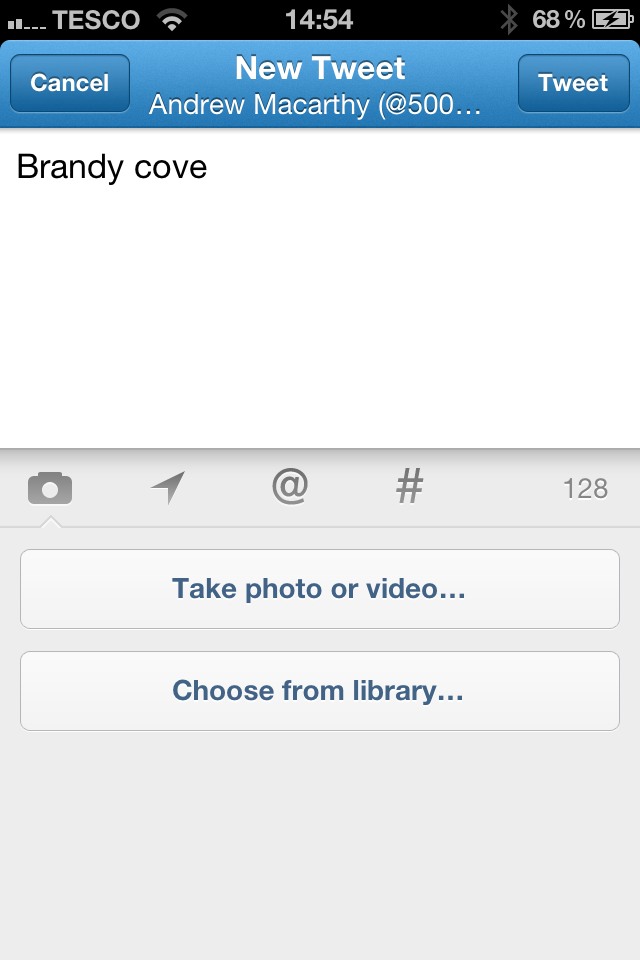
Step 1: Take or Choose A Photo
In the Twitter app, tap the quill icon to begin tweeting and then tap the camera icon to take a new photo or choose from an existing one.
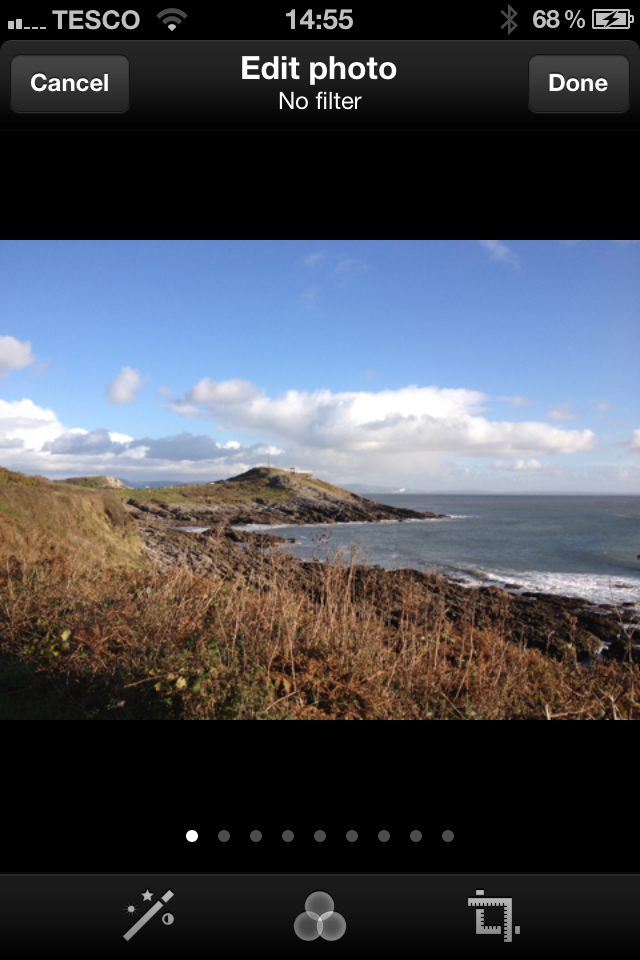
Step 2: Auto Correct
Tapping the magic wand icon will make the app auto-correct the photo for you. Tapping again will remove the effect if you don't like what you see.
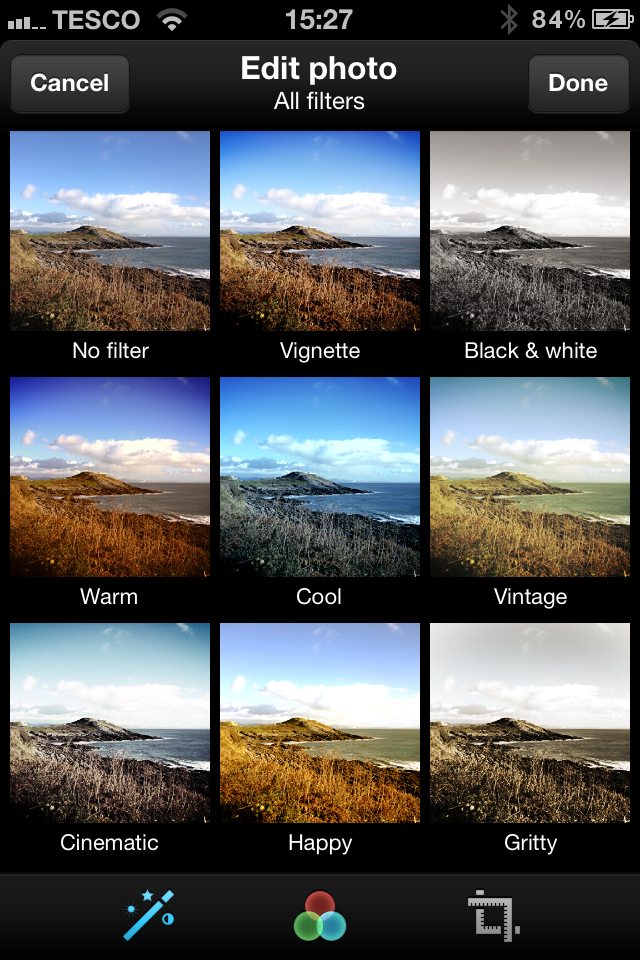
Step 3: Add Filters
Tap the icon of the three interconnected circles to launch the app's new photo filters and tap to choose which one you want to apply. Alternatively, swipe your finger across the screen from left to right to preview the filters one by one. Tap 'Done' when you're happy.
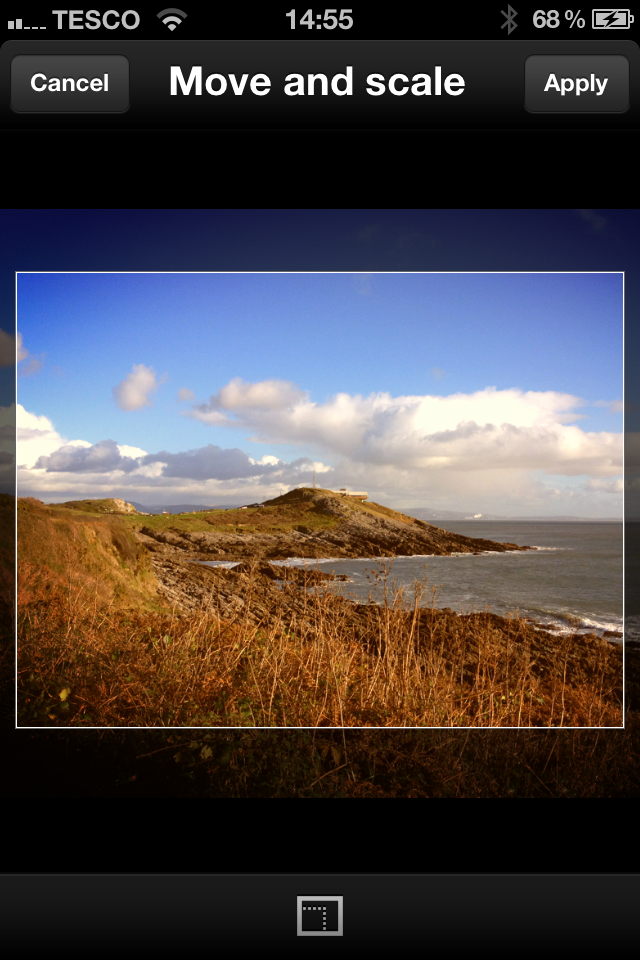
Step 4: Scale and Crop
Tap the final icon of the right-angled rulers to open the option to scale and crop your photo. Zoom in and out by pinching your fingers, and adjust the framing by tapping and dragging the photo around. Tap 'Apply' when you're happy.
Step 5: Publish
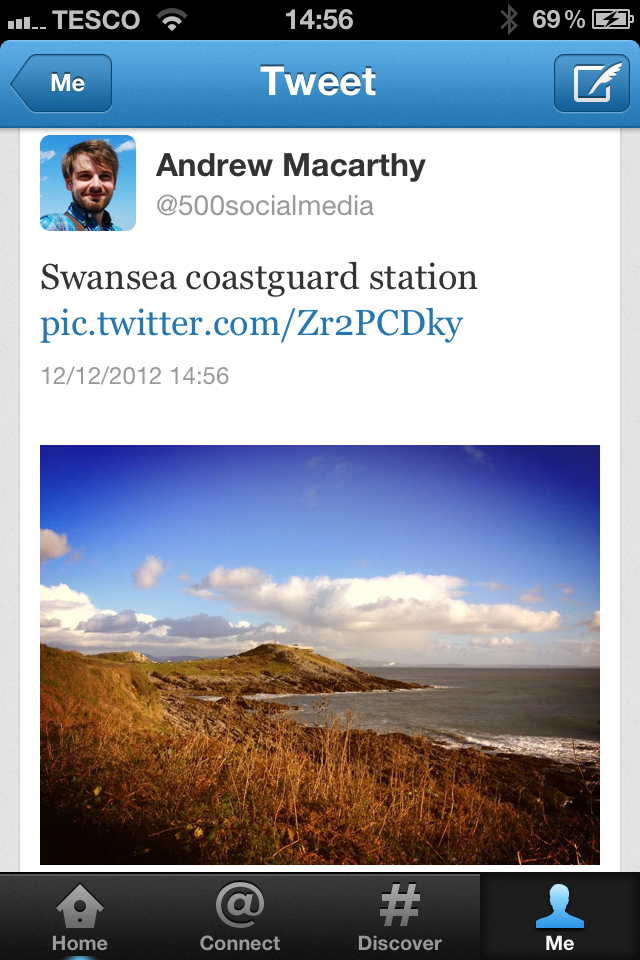
Twitter will compress your newly-edited image and attach it to your tweet. Type out your tweet as normal and click 'Tweet' to publish it to your feed.
Will you be using Twitter's new filters instead of Instagram? Let me know in the comments below!
Andrew Macarthy is author of 500 Social Media Marketing Tips, the #1 Amazon Kindle Bestseller:
Buy 500 Social Media Marketing Tips
Amazon US: http://www.amazon.com/dp/B007L50HE6
Amazon UK: http://www.amazon.co.uk/dp/B007L50HE6
Follow Me:
http://www.facebook.com/500socialmediatips/
https://pinterest.com/500socialmedia/
http://www.twitter.com/500socialmedia/
http://www.youtube.com/500socialmediatips
www.andrewmacarthy.com