

How to Create A Seamless Twitter Header Background and Profile Image
/
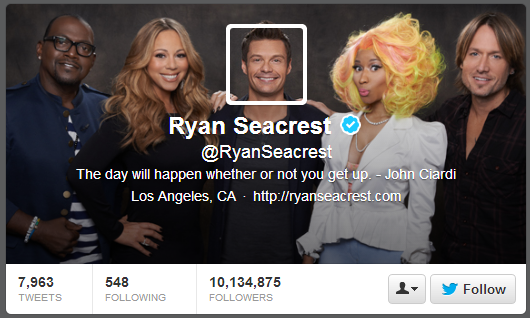
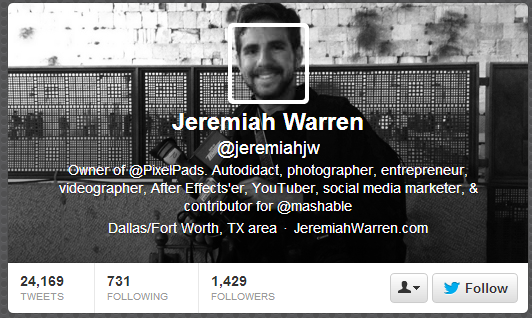
One of the most inventive ways to utilise your Twitter header space is to create a header background image that blends seamlessly into the profile photo that overlays it, as shown in the examples above. If you'd like to do something similar, it's really not too difficult, even if you are a photo editing newbie. All you need is to download my Twitter Header Template .psd file for Photoshop or GIMP (link opens in a new window), and follow the simple step-by-step instructions below:
Alternatively, if you'd just like me to do it all for you or your business, get in touch and hire me via the Contact Me page or purchase using the Shoplocket widget above.
1. Open the template.
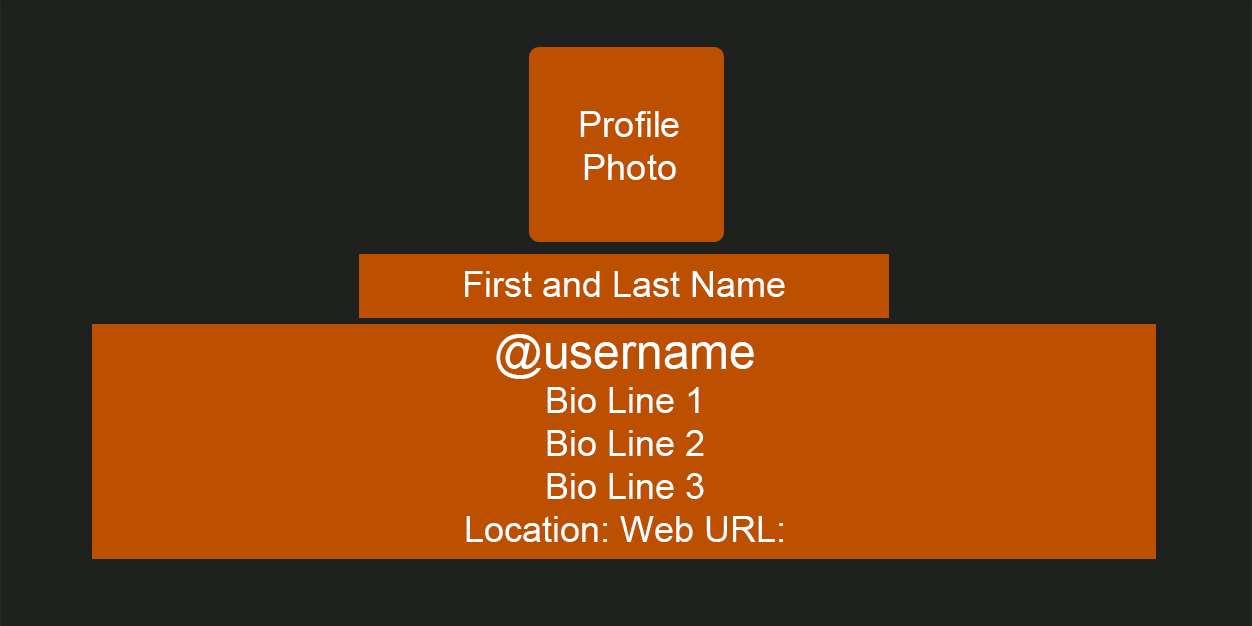
When you first load the template, this is what you will see. The grey area represents the size of your Twitter header's background image, while the orange boxes represent the different sections that sit on top of it - name, bio, website address, etc..
2. Hide every layer except the profile photo box.
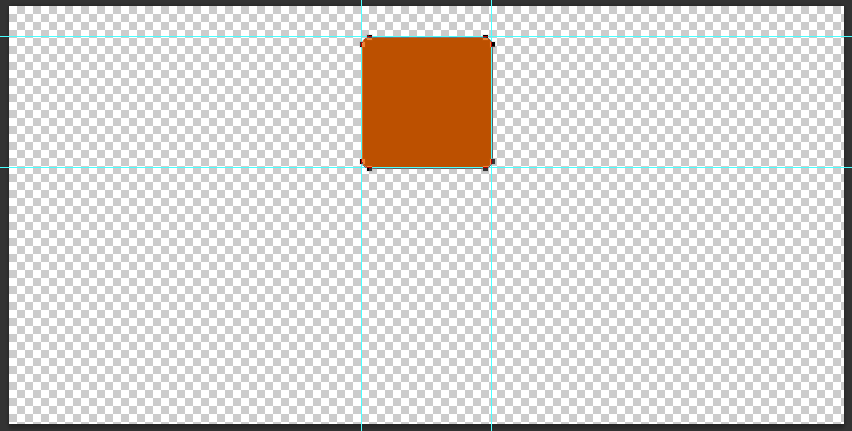
In this instance, we're only concerned about the position of the profile photo because we want it to overlay on top of our background image in exactly the right position. So, go ahead and hide every layer except the orange profile box layer, as above.
3. Insert your background image behind the profile box layer.
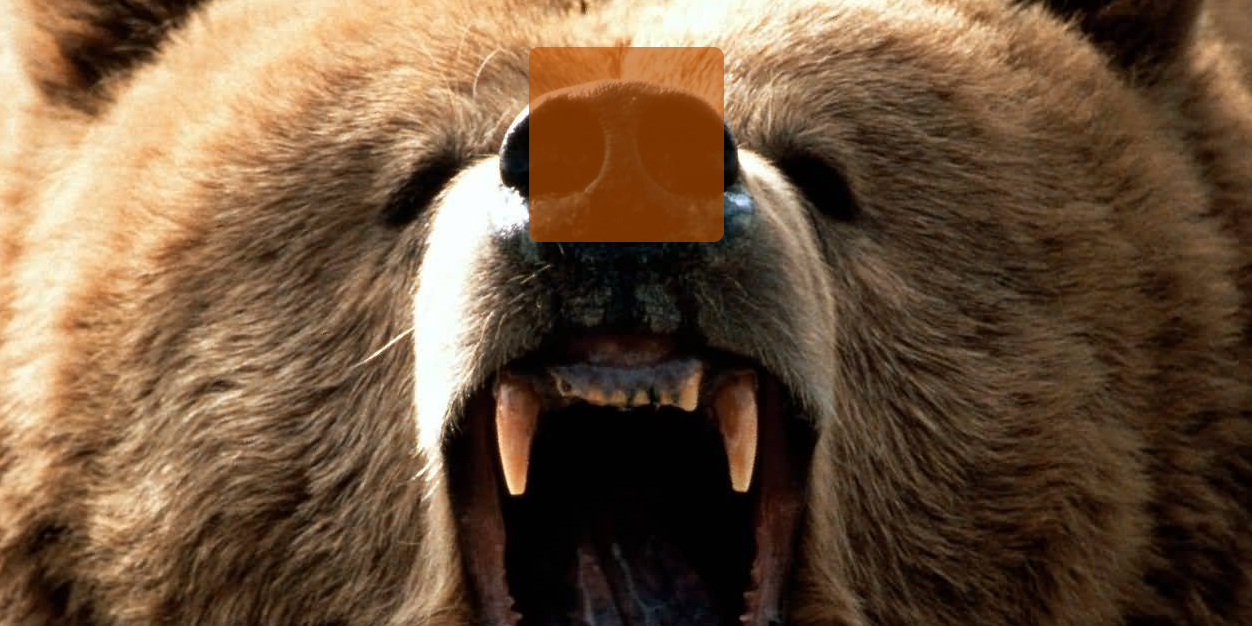
I want my header image to show this ferocious grizzly bear. Whatever image you choose, insert it into the template and move the layer so it is positioned behind the profile box. To make sure the image is lined up as you want, lower the opacity of the profile box to get a better look.
4. Select the profile box layer, then copy from the background layer
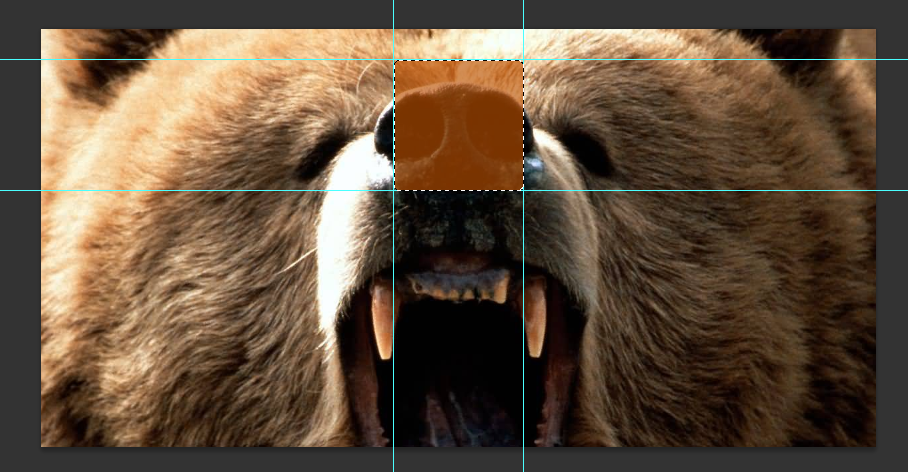
Here's where we create the profile pic that will sit above your background image. Choose the profile box layer and use the Magic Wand tool to select the orange box, as above. With the selection made, highlight the background image layer from the Layers panel, and copy the selection.
5. Create a new image file and paste the copied selection into it.
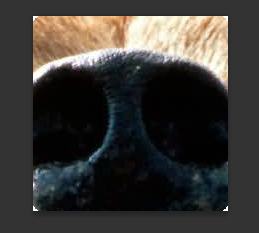
With your selection copied, create a new image file and paste the selection in - if done correctly, it should be 195 x 195 pixels big. Save this file as a PNG and keep it safe for later.
6. Save your Twitter background image

Return to the Twitter background template, hide the orange profile box layer and save the image as a PNG. You should now have two images - this one, and the profile image you created in the last step.
7. Visit Twitter and click 'Edit' on your Header image
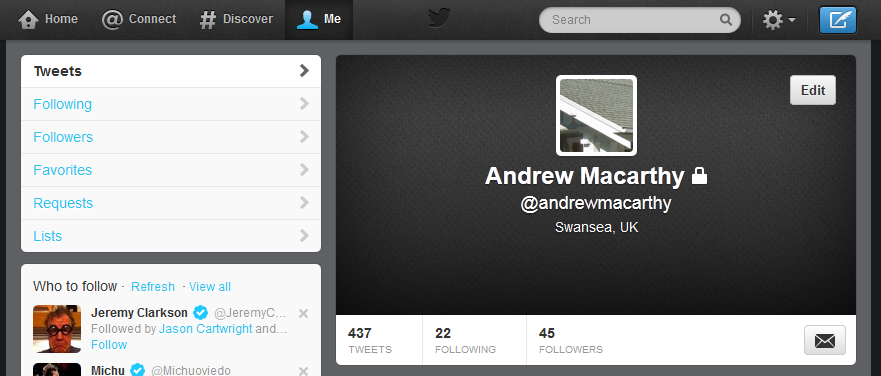
It's time to upload your seamless header image! Visit your Twitter account, hover your mouse over the header and click the "Edit" button that appears.
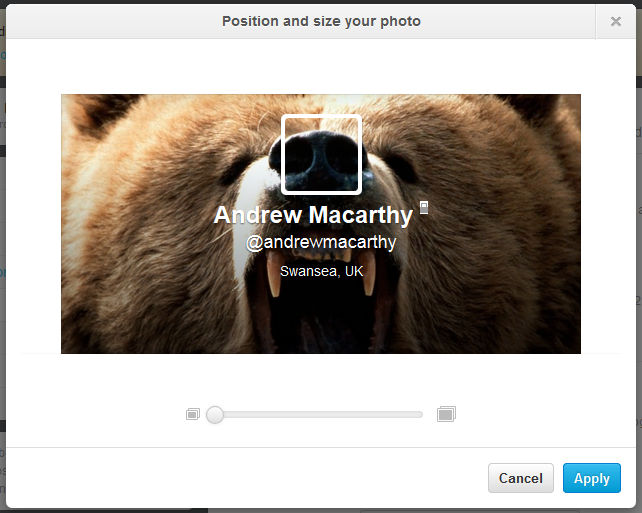
8. Upload your profile and header background images.
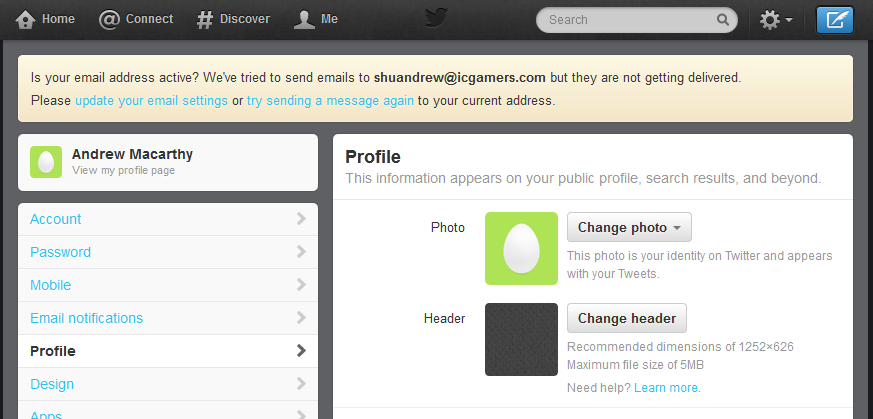
Click the "Change photo" and "Change header" buttons to upload your profile photo and header images. Don't adjust the position and zoom of them when prompted, just save them as is.
9. Tweak background image position if necessary
If, as above, your background image doesn't line up with the profile pic seamlessly when you upload it, no worries. Head back to the template file and shift the position of your background image up or down a four or five pixels, then upload it again. It might take a try or two, but you'll get there :)
10. View the finished product!
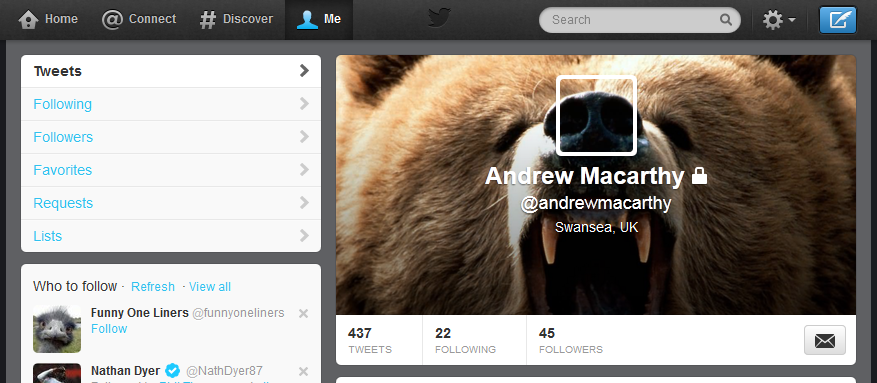
Here it is, the finished header and profile image, perfectly lined up with each other and looking great!
Want me to do it for you?
If you'd like me to create a Twitter header image like the ones above for you or your brand, please get in touch via the Contact Me page for more information.
ABOUT THE AUTHOR
Buy 500 Social Media Marketing Tips (Kindle or Paperback)
Amazon US: http://www.amazon.com/dp/B007L50HE6
Amazon UK: http://www.amazon.co.uk/dp/B007L50HE6
Follow Me:
http://www.facebook.com/500socialmediatips/
https://pinterest.com/500socialmedia/
http://www.twitter.com/500socialmedia
http://www.youtube.com/500socialmediatips