

6 Easy Steps to Create An Awesome Animated Promo Video For Social Media (Using PowerPoint!)
/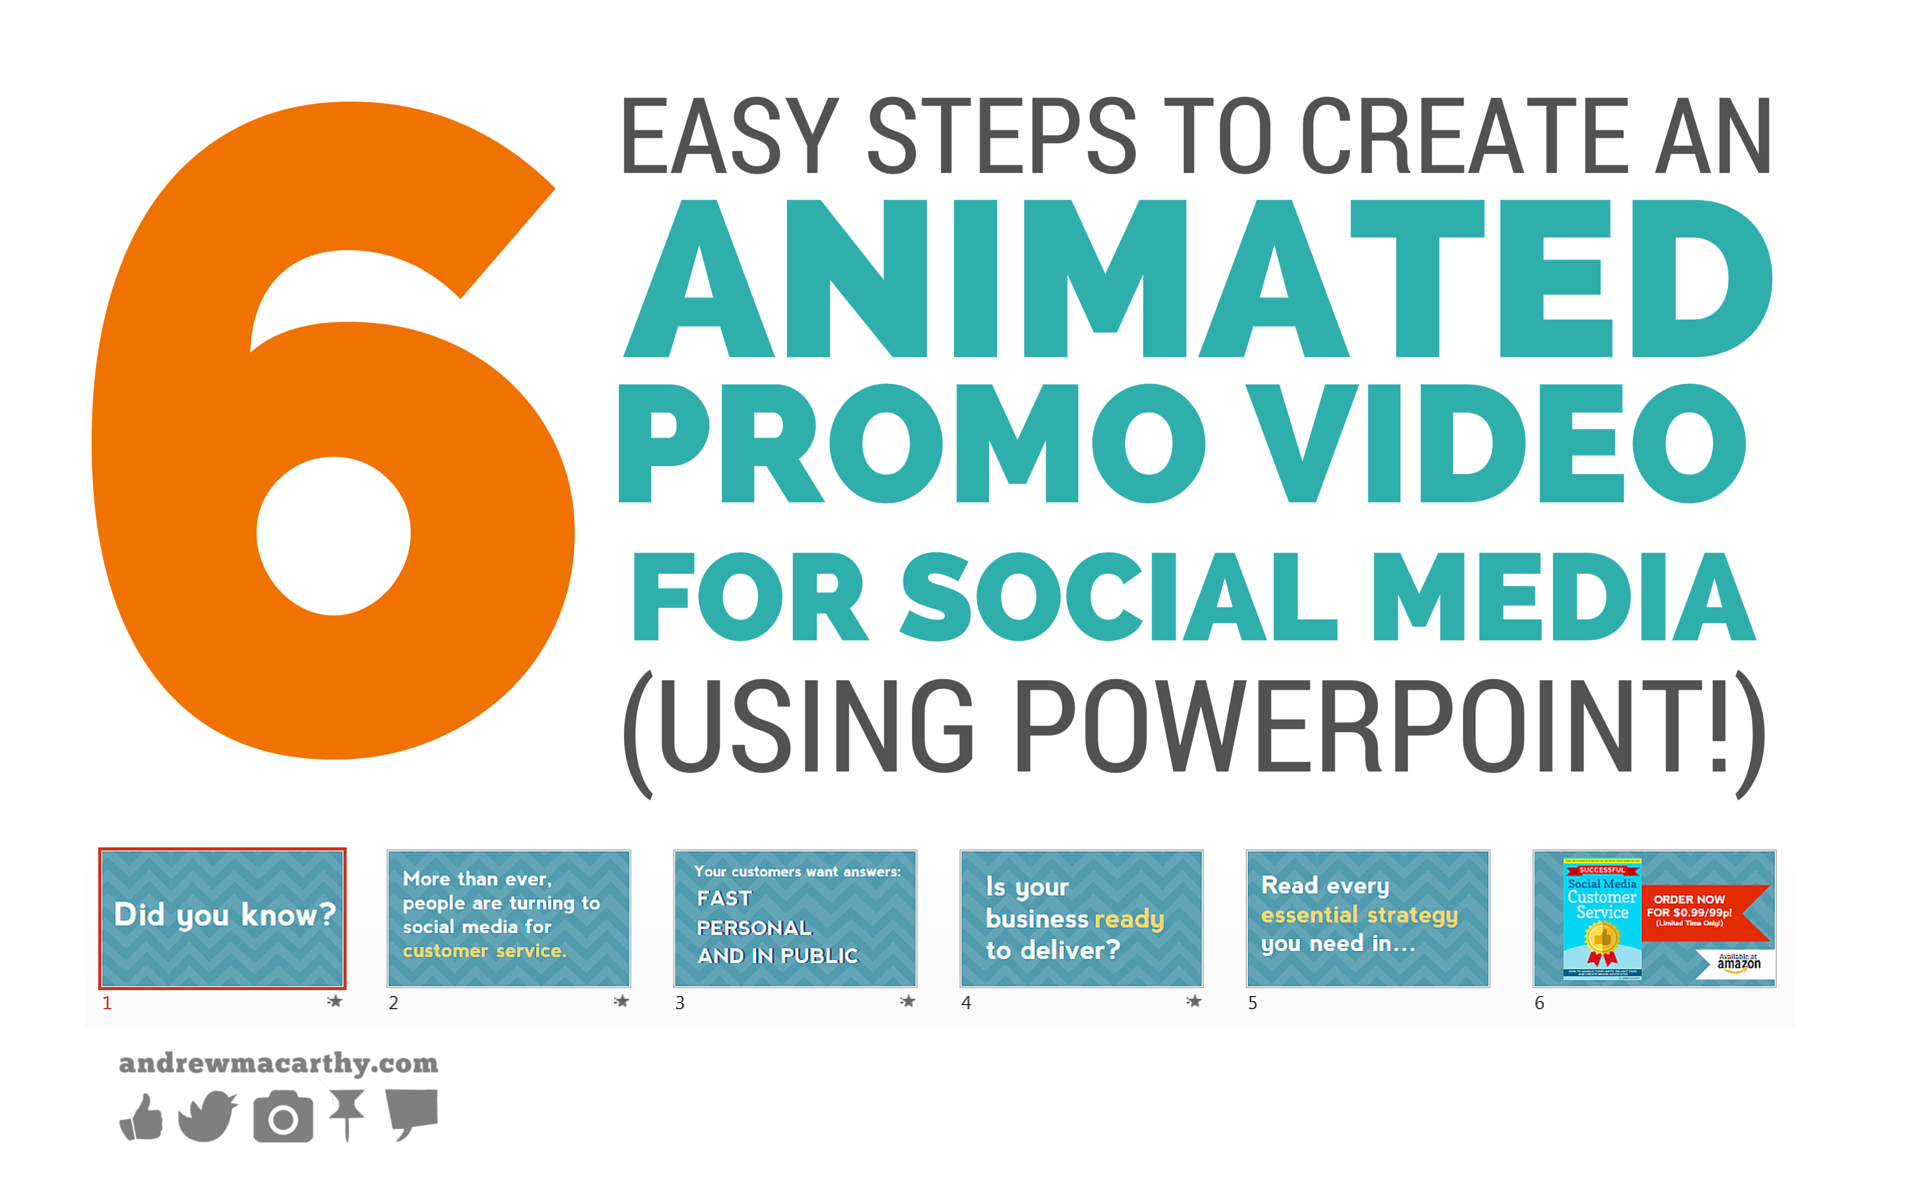
6 Easy Steps to Create An Awesome Animated Promo Video For Social Media (Using PowerPoint!)
Do you want to create a promotional video for social media, to be played on Facebook, Twitter, Instagram, and other sites?? Not confident or skilled in video-making and editing? Don't worry! I have you covered.
In this blog post, I'll show you, step-by-step how you to create an engaging promotional video for social media using only Microsoft PowerPoint (and a few other, free web tools). I'll be using my own video as an example - a promotion for my new book, Successful Social Media Customer Service, with animated text and background music. In essence, it's simply a video recording of a PowerPoint presentation, but I think it does looks pretty pro! Take a look:
1. Storyboard the "slides" of your video
As you can see in the video above, it is made up of several short "slides," each leading up to the call-to-action at the end. Before you begin, think about what goal you want to achieve with your video, and plot out each individual slide. This can be as simple as doodling on a piece of paper what images and text you want to appear on each slide, and how long you want each slide to appear on-screen.
2. Setup PowerPoint for Video Recording
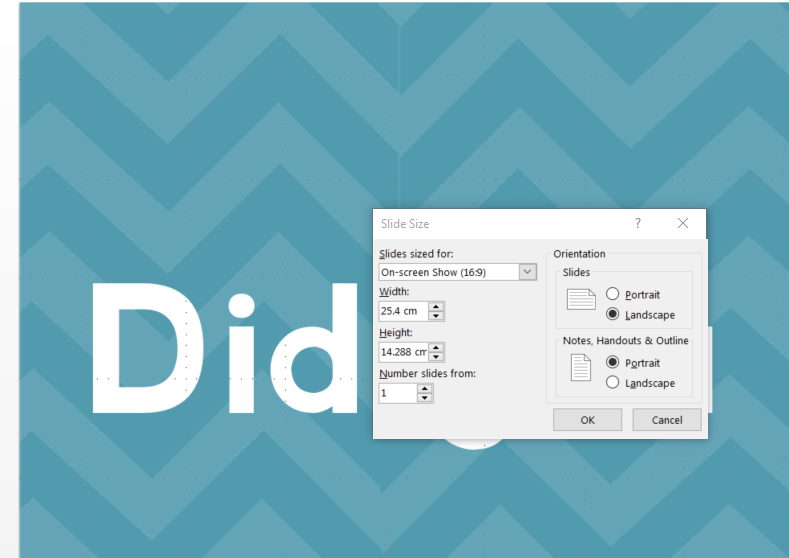
When you eventually upload your video to social media, you want it to appear in a nice, widescreen format without any cropping or ugly black bars. I use PowerPoint 2013, and in this edition, the program is not automatically to reflect the result we want. To change this, make sure that under the Design tab, "Widescreen 16:9" is selected from the Slide Size menu.
3. Design your slides

With the setup out the way, it's time to design your slides. The colours, fonts, and images are up to you, but I would recommend sticking to one point / sentence per slide.

In addition, use colour and animation to reflect the tone of the video and the personality of your brand. The font I chose is Nevis (free) and the background design is also free, via Canva.
Note: Consider the speed and timing of your animations, ensuring that it will be easily read when the video is played (i.e., not too fast!). And as your video will be played on a variety of screen sizes, make sure that the most important text will be readable on everything from large desktop monitors to mobile devices. An easy way to test this is simply to use the "zoom out" tool. Can you read what you've written.
4. Record your PowerPoint slides

There are a couple of ways you can do this. I used the PowerPoint add-in that comes with the screen capture software, Camtasia. It is a paid product, but you can download and use it free for 30 days. When installing, make sure to check the option to add the PowerPoint recording tool, then simply hit "record" before scrolling through your slides.
Alternatively, if you have the latest edition of PowerPoint, there is an option to save your presentation as a video. On the File menu, click Save & Send. Under Save & Send, click Create a video. To display all video quality and size options, under Create a video, click the Computer & HD Displays down arrow.
Note: Don't worry too much about the timing for each slide now - just skip through it at a slow pace - we'll handle exat timings at the editing stage.
5. Choose your music

Before we get to editing your video together, now's a good time to choose the music you want to accompany it. I deliberately chose to feature music-only (no voice narration) with my video. The reason for this? The text alone does all the talking for me, and on Facebook, while the video begins playing automatically when people scroll by it in the News Feed, the audio does not (it has to be un-muted). If you do want voice narration, you can focus on this in the previous step, but my intention is to keep things nice and simple.
As for where to find the music? My go-to destination is incompetech.com, a royalty free site extremely popular with all kinds of video creators. You'll be able to choose music by genre and mood, or search for tracks if you wish. If you do decide to use the music from Inompetech, be sure to credit it. If you watch my video closely, I reference it through text that pops up in the final slide.
6. Edit it all together
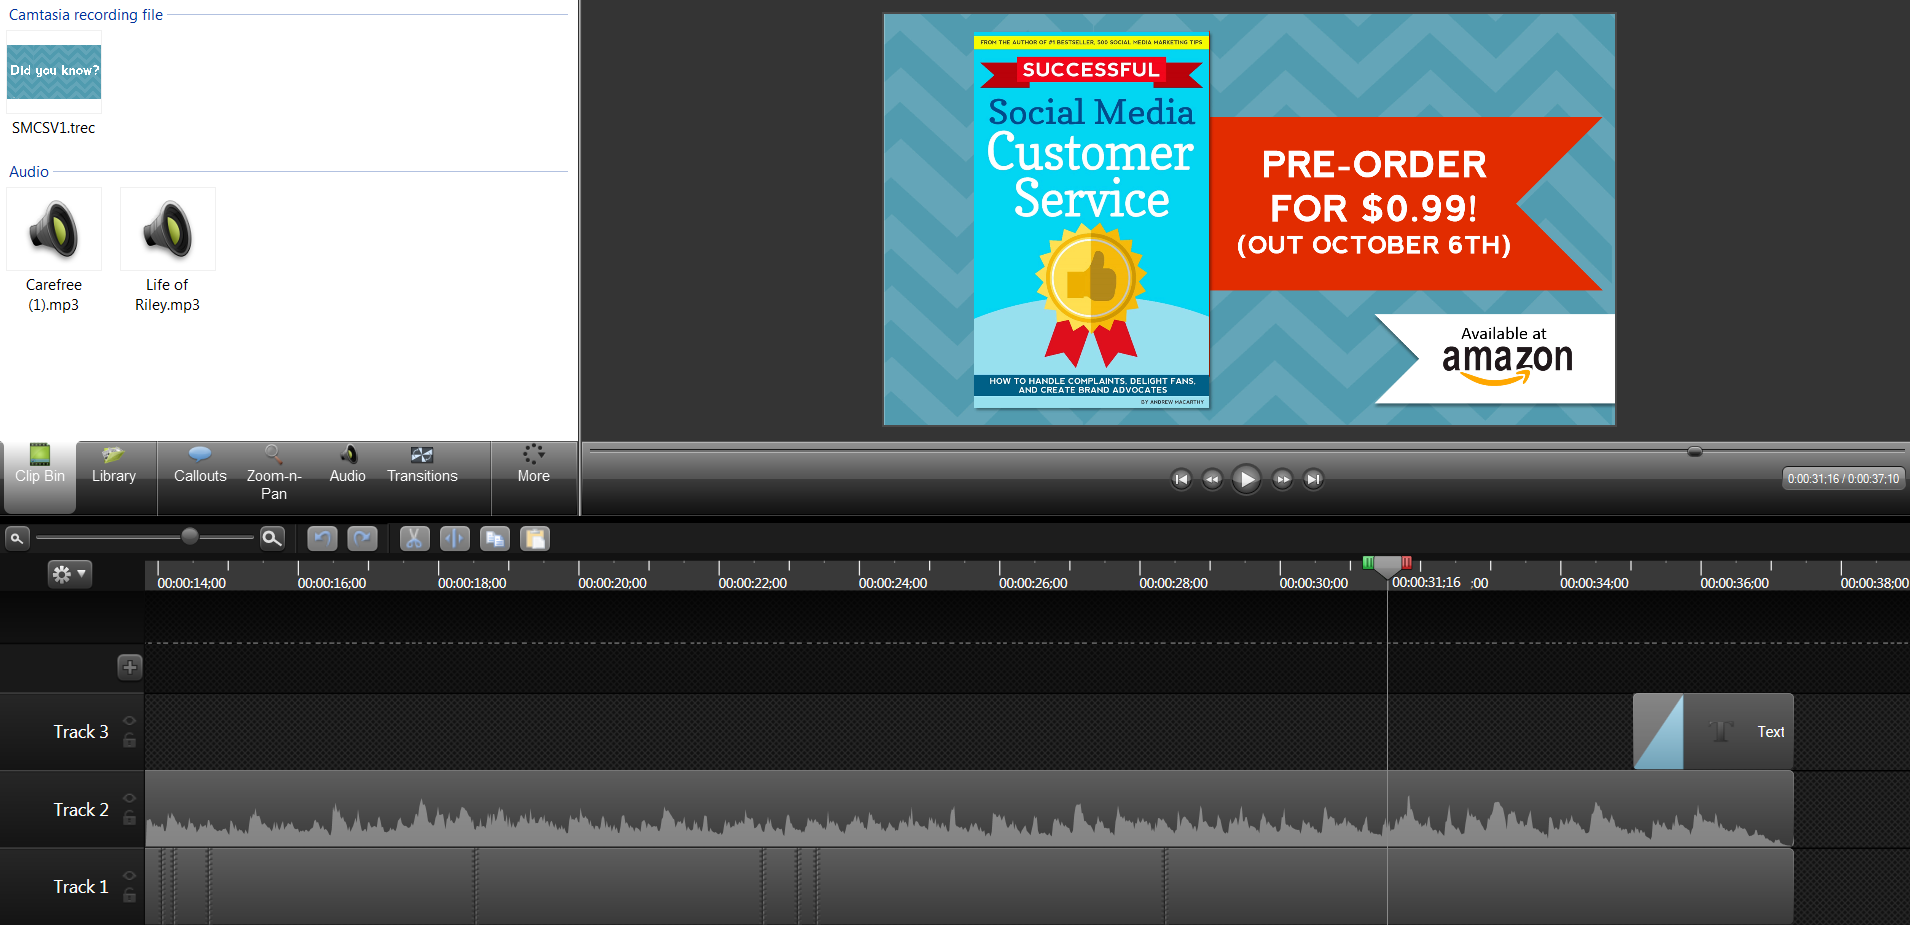
The final step is to import your music and your recorded PowerPoint video file into the video editor of your choice, and edit it together to create a final product. Again, I used Camtasia to build my final video, but there are plenty of free and paid video editing programs out there (iMovie, Lightworks, or even Windows Movie Maker). I wanted to time it so that there was one "slide" per bar of music. To do this, I simply cut and/or extended the frames for each slide to increase the or decrease the amount of time it would appear on screen. After a little bit of tweaking, the video was complete.
Over to you
What do you think about this "quick and dirty" method for creating animated promo videos for social media? Will you be giving it a go? Let me know in the comments below!

Buy 500 Social Media Marketing Tips
Amazon US: http://www.amazon.com/dp/B007L50HE6
Amazon UK: http://www.amazon.co.uk/dp/B007L50HE6
Follow Me:
http://www.facebook.com/500socialmediatips/
http://www.pinterest.com/andrewmacarthy
http://www.twitter.com/andrewmacarthy
http://www.youtube.com/500socialmediatips